You know, I've been shopping at second hand stores for more years than I can count now. Started back when my kids were small and money was tight, but somewhere along the way it became something I really love doing. There's this special feeling when you find a piece that nobody else sees the potential in, you know? Like you're rescuing something that still has so much life left in it. And nowadays, with everything being so expensive here in Canada, thrift shopping just makes good sense for your wallet and for the environment too.
Walking into a thrift store can feel overwhelming at first, I won't lie about that. All those shelves packed with stuff, things mixed together with no real organization sometimes. But once you learn what to look for and how to see past the dust and outdated finish, it's like having a superpower. I've furnished whole rooms in my house with second hand finds, and people always ask where I got this chair or that table. They're surprised when I tell them it came from Value Village or the Salvation Army store down the street.
The best part is you don't need to be super crafty or have a workshop full of expensive tools. Most of what I do involves paint, fabric, and basic supplies you can pick up at any hardware store. Maybe a screwdriver, some sandpaper, that's about it. If I can do it at my age, believe me, anyone can. It's not about being perfect – it's about giving old things new purpose and making your home feel special without spending a fortune.
So let me share what I've learned over all these years of thrift store hunting. I'll tell you exactly what to look for, how to spot quality pieces even when they look rough, and the simple techniques I use to transform them. These are real tips that work, not fancy designer tricks. Just practical knowledge from someone who's refinished more furniture than she can remember and made plenty of mistakes along the way.
Solid Wood Furniture: The Foundation Pieces
Here's the first thing you need to know – solid wood furniture is worth its weight in gold at thrift stores. I'm talking about real wood, not that particle board stuff that falls apart if you look at it wrong. You can tell the difference pretty easy once you know what to check. Look at the edges and corners – real wood shows grain patterns all the way through. Particle board has that compressed, uniform look, and you'll see a thin veneer on the surface.
The furniture doesn't have to be pretty when you find it. Actually, the ugly ones are usually the best deals because other people walk right past them. I found a solid oak dresser last year that was painted this terrible orange color from the 1970s. Paid thirty-five dollars for it. Stripped that paint off, sanded it down, put on a nice walnut stain, and now it's in my guest bedroom looking like something from a fancy furniture catalog. Would have cost me eight hundred dollars new, easy.
Check the joints and structure carefully though. Open all the drawers, wiggle the legs, look underneath. You want pieces that are sturdy even if they're scratched or the finish is bad. Loose joints you can fix with wood glue – I've done that many times. But if the whole structure is wobbly or there's water damage that's made the wood soft, walk away. Not worth your time or money.
In Canada, especially in older neighborhoods, you find lots of solid wood pieces from the 1950s through 1980s. That's when they still made furniture to last. The styles might be dated, but the quality is there. Dining tables, chairs, dressers, side tables, bookshelves – all perfect candidates for transformation. I always check the legs on tables and chairs especially. Those get the most wear, but if they're solid wood, you can sand down damage and refinish them beautifully.
The Magic of Paint and Finish
Paint is your best friend for transforming thrift store finds. I use chalk paint for most furniture projects because it doesn't require much prep work. You don't have to strip the old finish completely or do heavy sanding. Just clean the piece really well, maybe scuff it up a bit with sandpaper so the paint has something to grip, and you're ready to go. Chalk paint also gives you that nice matte finish that looks expensive and hides imperfections better than glossy paint.
You can find chalk paint at most hardware stores here in Canada – Home Depot, Canadian Tire, even some craft stores carry it. It's not cheap, I'll be honest, but a little goes a long way. One can has done three or four pieces for me depending on their size. White, cream, and gray are my go-to colors because they work with everything and never go out of style. But don't be scared of color either. I painted an old wooden chair a deep navy blue last month and it's become my favorite seat in the living room.
After the paint dries, here's the secret that makes everything look professional – wax or polyurethane topcoat. For chalk paint, I usually use clear wax. You just rub it on with a cloth, let it sit for a few minutes, then buff it off. This seals the paint and gives it a subtle sheen that makes the piece look finished and protects it from daily wear. For pieces that will get heavy use like kitchen tables or dressers, I use water-based polyurethane instead. More durable, though it takes longer to dry.
Sometimes I do what they call distressing – sanding the edges a bit after painting to show some of the wood underneath. This gives furniture that farmhouse look that's popular now. But you don't have to do this if you prefer a clean, modern appearance. That's the beauty of doing it yourself – you make it look exactly how you want. I've also started using furniture stain more lately, especially on pieces with beautiful wood grain. Strip the old finish, sand it smooth, apply stain, then seal it. Takes more work than paint but the results are stunning.
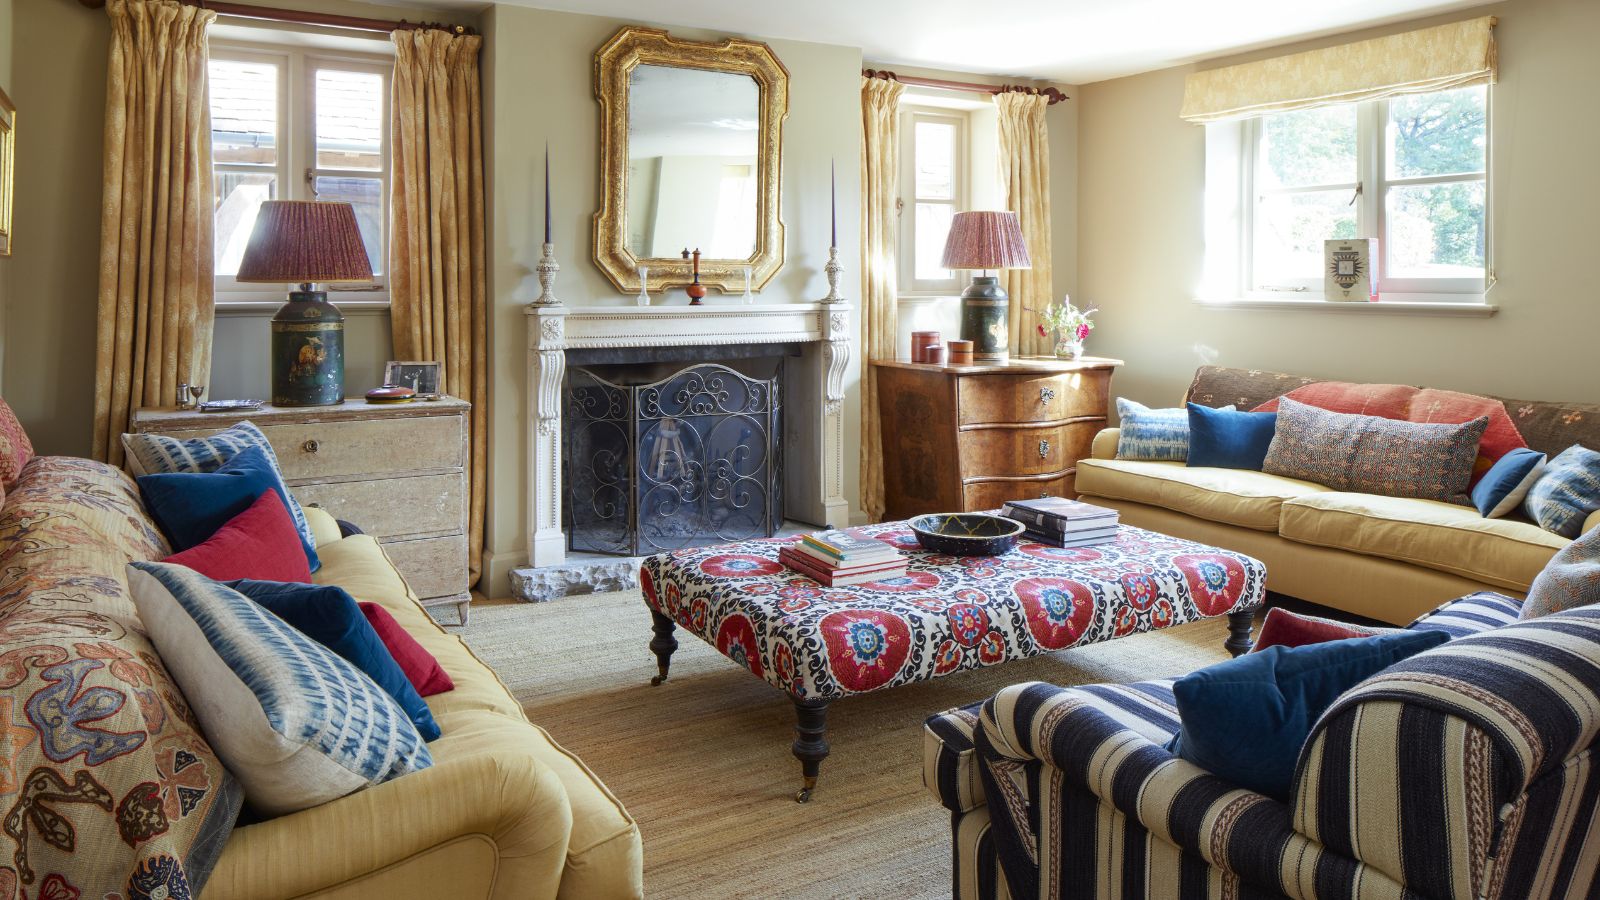
Upholstered Pieces: Hidden Potential
Now, upholstered furniture makes some people nervous at thrift stores, and I understand why. You can't always tell what's underneath that fabric. But if you're careful about what you choose, these pieces can be absolute treasures. I look for chairs and small sofas with good bones – solid frames, comfortable proportions, springs that still have life in them. Sit on everything. Bounce a little. If it feels sturdy and comfortable, the fabric can be changed.
The frame is what matters most. Flip the piece over if you can and look underneath. You want to see a hardwood frame, not particle board. Check for any musty smells or stains that might indicate water damage or mold. Those are deal breakers. But normal wear, outdated fabric, even some minor stains on the outside – all fixable. I found an armchair two years ago with the ugliest floral print you've ever seen, but the frame was solid maple and the cushion was still firm. Fifteen dollars. Couldn't pass it up.
Reupholstering isn't as hard as people think, at least not for simple pieces like dining chairs or basic armchairs. You can find lots of tutorials online, and honestly, your first attempt might not be perfect but it'll still be way better than that ugly original fabric. I use a staple gun (electric ones are easier on your hands), some batting if the old padding is worn out, and fabric from the remnant section at fabric stores. Fabricland has good sales if you watch for them.
If full reupholstery seems too ambitious, slipcovers are another option. You can buy ready-made ones or make simple ones yourself if you can sew even a little bit. I've also just thrown nice blankets or large pieces of fabric over chairs and tucked them in tight. Looks intentional and cozy, especially in family rooms or bedrooms. Sometimes the simplest solutions work best.
Lighting Fixtures That Shine Again
Lamps and light fixtures are some of my favorite thrift store finds because they're usually really cheap and easy to update. Table lamps especially – you can find them for five or ten dollars, and all they need is a new shade and maybe a coat of spray paint on the base. I've collected quite a few over the years, and switching them between rooms gives me that feeling of new decor without spending much money.
When you're looking at lamps, make sure they actually work. Most thrift stores here in Canada have outlets where you can test things, so bring the lamp to the counter and ask to plug it in. Check that the switch works properly and the cord isn't damaged or frayed. If everything works but it just looks dated, that's perfect. If the wiring seems sketchy, you can have it rewired, but that adds cost. Usually I just look for ones that work fine as-is.
Lamp shades are easy to replace – you can get them at Winners, HomeSense, even dollar stores sometimes. Or make your own if you're feeling creative. I covered a plain shade with fabric once using a glue gun, and it turned out beautiful. For the lamp base, spray paint works wonders. I always use the kind meant for metal if it's a metal lamp. Take it outside or to a well-ventilated area, put down newspaper, and apply thin coats. Better to do three thin coats than one thick one that drips.
Chandeliers and ceiling fixtures are trickier because you need to install them, but if you're comfortable with basic electrical work or know someone who is, they're worth considering. I found a brass chandelier that looked really dated with all that shiny brass. Spray painted it matte black, put in some vintage-style LED bulbs, and hung it over my dining table. Gets compliments every time we have people over. Cost me twenty dollars for the fixture and another fifteen for paint and bulbs.
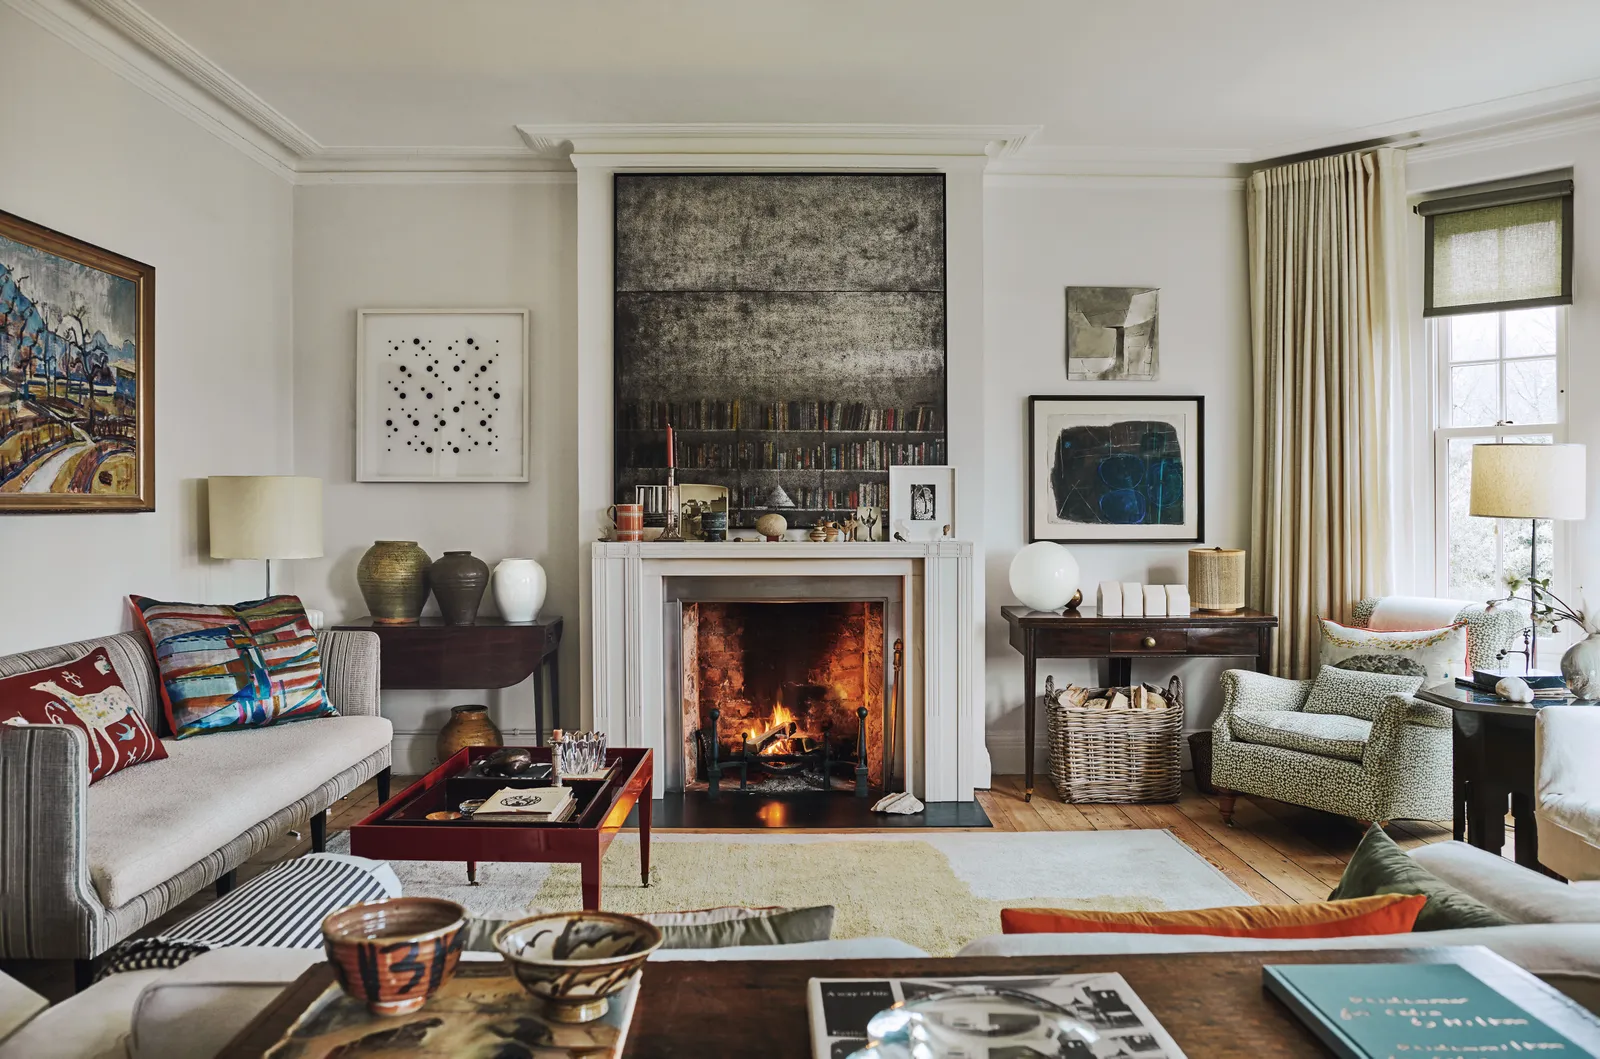
Mirrors and Frames: Instant Impact
Mirrors are probably the easiest thrift store transformation project, and they make such a big difference in a room. They reflect light, make spaces feel bigger, and a nice mirror just adds that finished look. I never pay more than ten or fifteen dollars for a mirror at a thrift store unless it's really large. The glass is what matters – make sure it's not cracked or has that dark spotting around the edges that means the backing is deteriorating.
The frame is completely changeable. I've painted mirror frames probably a hundred times at this point. Same process as furniture – clean it, maybe sand it lightly, paint it, seal it if needed. Gold frames can be painted to look modern, old wood frames can be stained darker or lighter, plastic frames can be spray painted. I even covered a frame with rope once, wrapping it around and gluing it as I went. Gave it that coastal look that was popular a few years back.
Picture frames are the same idea. I buy interesting frames whenever I see them cheap, even if I don't need them right away. They're small, easy to store, and I always end up using them. You can update them to match your decor and fill them with family photos, artwork, or even pretty fabric or wallpaper samples. I made a whole gallery wall in my hallway using mismatched thrift store frames that I painted all the same color. Looks intentional and pulled together.
One thing I learned – don't be afraid to mix sizes and styles of frames, especially for a gallery wall. As long as they're the same color or finish, they work together. I see people spending so much money on matching frame sets, but the eclectic look with thrifted frames has so much more character. Plus you save probably two hundred dollars or more compared to buying new.
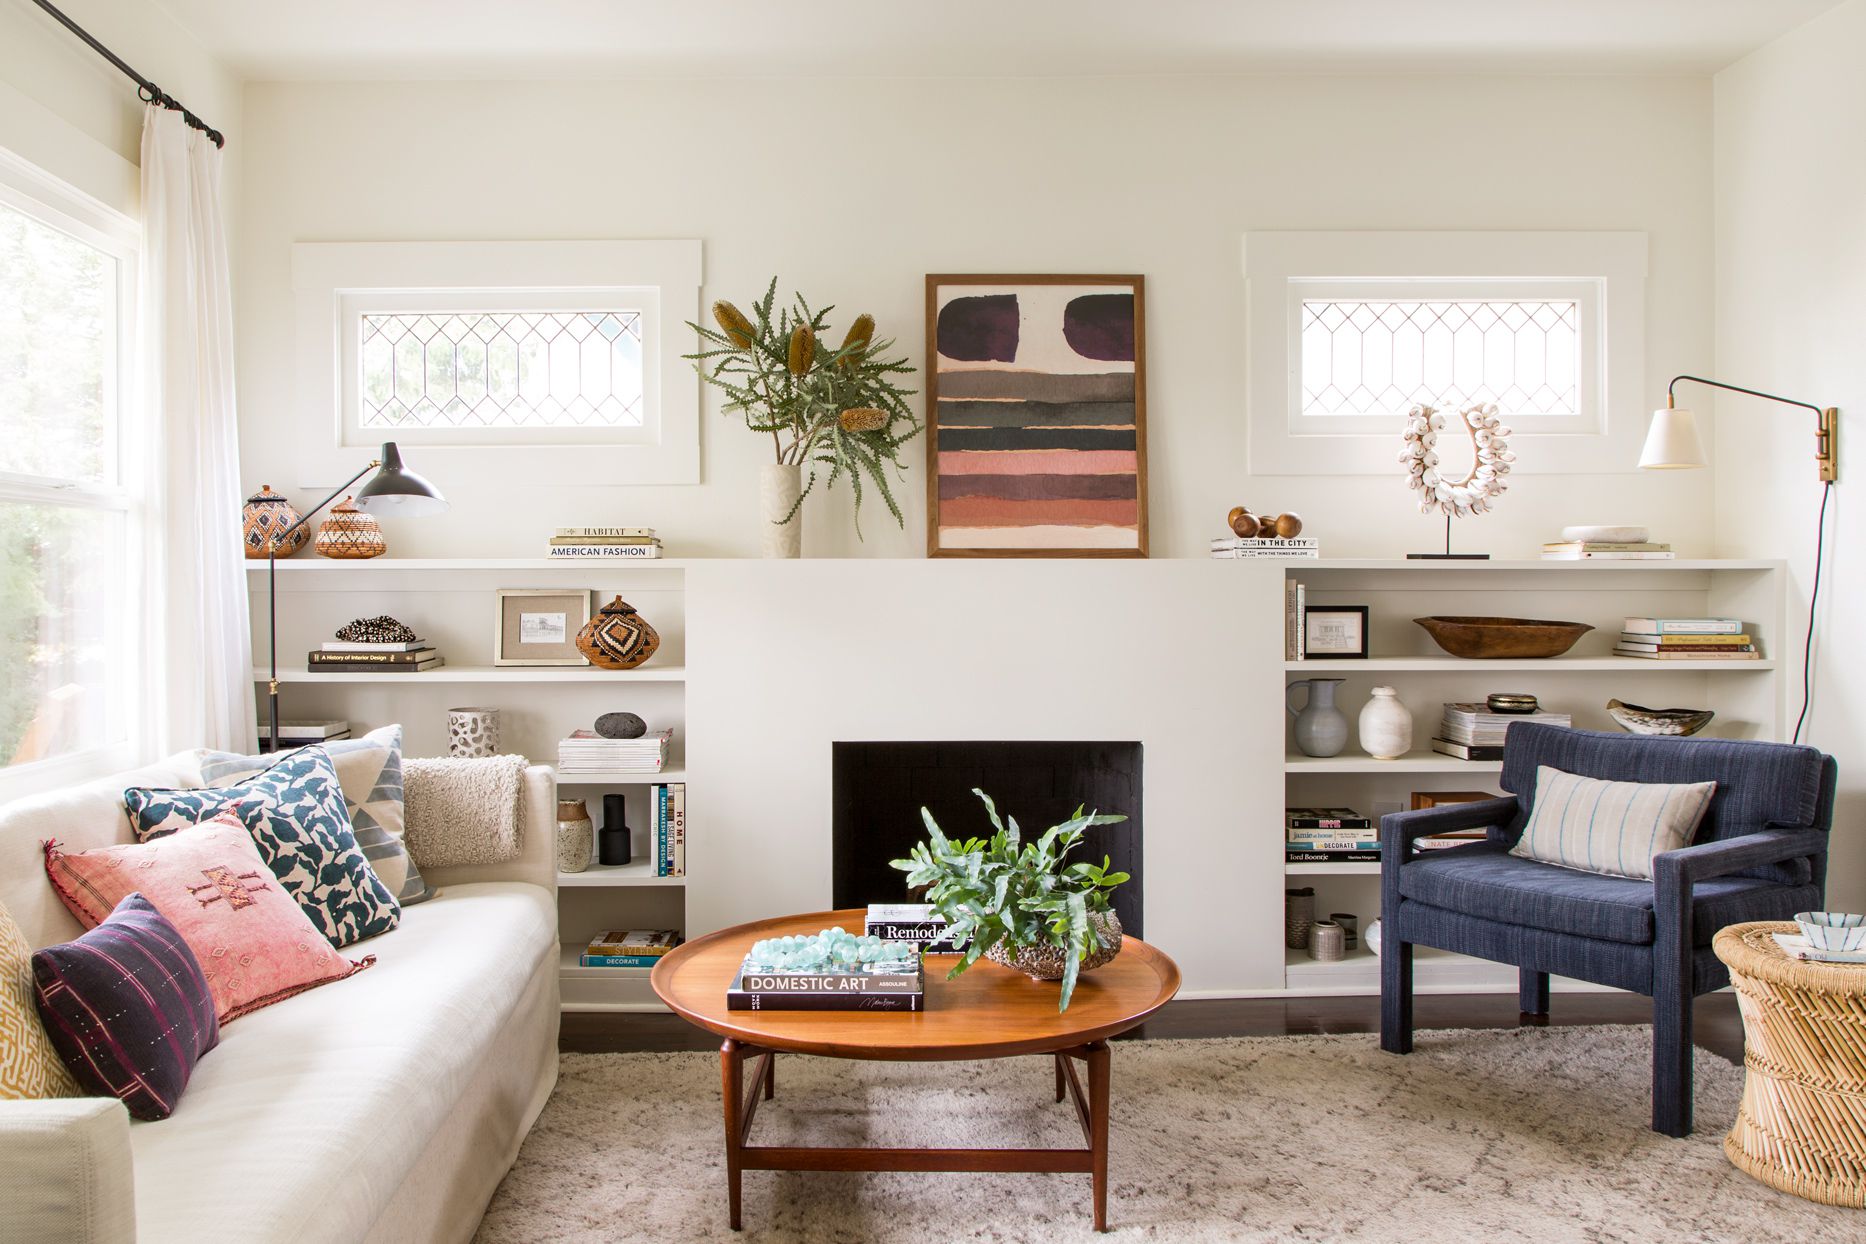
Storage and Organization Pieces
This is something I didn't appreciate when I was younger, but good storage pieces are worth their weight in gold. Dressers, cabinets, shelving units, even old trunks and suitcases – these things cost a fortune new, but you find them all the time at thrift stores. And they're practical, which matters when you're trying to keep a house organized.
I furnished my whole craft room with thrift store storage. Got a tall bookshelf for twelve dollars that I painted white, a small dresser for organizing supplies that cost twenty dollars, and an old filing cabinet that I turned into a side table with storage. Added some baskets and containers (also from thrift stores), and now everything has a place. Did the same thing in my laundry room with an old cabinet that holds all the cleaning supplies.
The trick with storage pieces is thinking beyond their original purpose. That old dresser doesn't have to go in a bedroom – put it in your dining room to store table linens, or in your entryway for hats and gloves. A bookshelf works anywhere you need vertical storage. I've seen people use old lockers in mudrooms, vintage cabinets in bathrooms, even old card catalogs from libraries as unique storage pieces. Get creative.
Hardware makes a big difference on storage furniture. If a dresser has ugly or damaged handles, replace them. New knobs and pulls are cheap at hardware stores, or you can find vintage ones at antique markets and sometimes thrift stores too. I replaced all the hardware on a dresser once with leather straps and it completely changed the look. Simple updates like this take something boring and make it interesting.
Basic Tools and Supplies You'll Need
You don't need a fancy workshop to transform thrift store finds, but having some basic supplies makes everything easier. I keep a toolbox with the essentials, and it's enough for probably ninety percent of the projects I do. Start with a good screwdriver set – both flathead and Phillips head in various sizes. You'll be removing hardware, tightening loose screws, taking apart furniture pieces constantly.
Sandpaper in different grits is essential. I keep coarse (60-80 grit) for heavy stripping and smoothing rough wood, medium (120-150 grit) for general sanding, and fine (220 grit) for final smoothing before painting or staining. A sanding block makes the job easier on your hands. For bigger projects, an electric sander is nice to have but not necessary when you're starting out. I did everything by hand for years.
For painting, you need good quality brushes and foam rollers. Cheap brushes lose bristles and leave marks, so spend a bit more on decent ones. They last longer if you clean them properly anyway. I also use painter's tape for clean edges, drop cloths to protect floors, and plenty of rags for wiping and cleaning. Keep mineral spirits or paint thinner on hand for cleaning oil-based products, though I mostly use water-based stuff now.
A staple gun for upholstery projects, wood glue for repairs, a tape measure for checking dimensions, and a level for hanging things straight. That's really about it for the basics. As you do more projects, you might add specialty tools, but this gets you started. I bought most of my tools at Canadian Tire on sale over the years. You don't need everything at once – build your collection gradually as you need things.
The Environmental and Financial Benefits
One thing that keeps me thrift shopping after all these years is knowing I'm not contributing to all the waste we create. Furniture is one of the biggest things that ends up in landfills, and most of it still has useful life left. When I rescue a piece and fix it up, that's one less thing being thrown away and one less new piece being manufactured. Feels good, you know?
The money savings are significant too, especially now with inflation making everything so expensive here in Canada. I figure I've saved thousands of dollars over the years by furnishing and decorating with thrift store finds. A new solid wood dresser costs six hundred dollars or more. I get them for thirty or forty dollars and put in maybe another twenty for paint and supplies. Even accounting for my time, the savings are huge.
And there's something satisfying about creating a home that's unique and doesn't look like everyone else's. When you buy everything new from the same stores, your place ends up looking like the catalog. But when you thrift and transform pieces yourself, you get a mix of styles and eras that tells a story. Each piece has history, and you've added to that history by giving it new life.
Plus the skills you learn doing these projects are valuable. I can look at any piece of furniture now and know whether it's worth buying, what it would take to fix it up, how I'd change it. That knowledge gives you confidence and saves you from making expensive mistakes. And if you ever need to, you could even sell refurbished pieces – I know people who do that as a side business.
Where to Find the Best Thrift Store Deals in Canada
Location matters when you're thrift shopping. I've found the best deals in smaller towns and older neighborhoods where people are downsizing or clearing out estates. Value Village and Salvation Army stores are everywhere and usually have good selection, but don't overlook the smaller charity shops run by churches or community organizations. Those often have lower prices because they're not as picked over.
Timing matters too. A lot of thrift stores here in Canada do sales on certain days or for certain color tags. Value Village has their fifty percent off colored tag days that rotate weekly. If you can figure out the pattern and plan your shopping accordingly, you save even more money. I also go early in the day, right after they open, because that's when new stock is usually put out.
Estate sales and garage sales are goldmines for furniture and home decor. Check local classifieds, Facebook Marketplace, and community bulletin boards for listings. The end of the sale is the best time to negotiate – people just want to get rid of stuff at that point. I've gotten entire sets of furniture for next to nothing because I showed up an hour before closing and made a reasonable offer.
Don't forget about online options like Kijiji and Facebook Marketplace. People give away or sell furniture cheap because they don't want to move it or pay to dispose of it. I got a solid wood coffee table for free last year just because I could pick it up that day. The woman was moving and needed it gone. Sanded it down, restained it, and it's perfect in my living room now.
Final Thoughts and Getting Started
The hardest part of transforming thrift store finds is just getting started. I remember my first project – a small side table that I was so nervous about painting because what if I ruined it? But you know what, even if you make mistakes, you're only out a few dollars and you learn something. That's the beauty of thrift store furniture. The stakes are low, so you can experiment and try techniques without worrying too much.
Start with something small if you're feeling unsure. A picture frame, a small shelf, a wooden tray – these are quick projects that build your confidence. Once you see how good you feel finishing that first piece, you'll want to do more. And each project teaches you something that makes the next one easier. I still learn new techniques and tricks, even after all these years.
Don't compare your work to professional refinishers or those perfect pictures you see online. Your pieces don't have to be flawless – they just have to make you happy and work in your home. Some of my favorite furniture has little imperfections that give it character. That's part of what makes handmade and refurbished pieces special. They're not mass-produced perfection, they're one-of-a-kind.
So next time you're driving past a thrift store, stop in and look around. Really look at the pieces, imagine what they could become with a little work. Pick something up that speaks to you, bring it home, and transform it. You might discover a hobby you love, save money, help the environment, and create a home that's truly unique. That's what happened to me, and it's been one of the most rewarding parts of my life. I hope it can be for you too.